Installing and configuring IRIX 6.5.22 in MAME
Files you will need:
- IRIX 6.5 Foundations 1 and 2
- https://winworldpc.com/product/irix/65
- IRIX 6.5.22 Overlays 1 through 3
- https://winworldpc.com/product/irix/6522
- IRIX 6.5.22 Applications 2003
- https://winworldpc.com/product/irix/6522
- ONC3-NFS Version 3
- https://winworldpc.com/product/irix/patches
- SGI General and Platform Demos 6.5.12 1 of 2
- https://jrra.zone/sgi/
You should end up with a total of 8 ISOs (or 6 if you don't want NFS and Demos for some reason). Refer to the instructions on the home page for creating the ROM file and setting up MAME. The Demos and NFS CDs are optional but I highly recommend them since NFS will be useful if you get networking enabled and the demos are super fun. But all you really need to get to a working desktop are the Foundations, Overlays, and Applications CDs. Furthermore, leaving out the optional CDs won't save you very much time on the installation. It's going to be slow either way.
Creating a virtual hard disk to install IRIX on:
Open a system shell in your host OS in the MAME directory (PowerShell on Windows, Terminal on macOS/Linux) and enter the following:
./chdman createhd -ss 512 -chs 128,16,96000 -c none -o irix65.chd
This tells the disk image creation utility that comes with MAME to make a 100GB disk image named "irix65.chd" but you can name the file anything you'd like. Since it's dynamically allocated it won't actually use 100GB on your host disk. It will only be as large as the files you put into it. With a full IRIX installation and some programs it will be no larger than 2-3GB. Since XFS (the file system of IRIX) is a 64-bit file system it has a theoretical size limit of 2^63-1 bytes or just shy of 8 exbibytes. But practially I have heard of people running into problems with disks larger than 2TB on real SGI hardware, so that's something to keep in mind if you want to attempt to create a huge disk image. There might even be further limitations in firmware due to the Indy having an older 32-bit PROM. In general these machines were never meant to be run with very large hard disks. It's best to stick with sizes similar to the real disks that are known to be supported in SGI workstations.
Booting the emulator and setting the PROM variables:
Open a system shell in your host OS in the MAME directory and enter the following:
./mame64 indy_4610 -gio64_gfx xl24 -hard1 irix65.chd
Wait a moment for hardware diagnostics to complete and then click the "Stop for Maintenance" button to go to the PROM setup. Next you will need to go to the Command Monitor and enter a few commands. They only need to be entered once. After that the system will boot normally. If you're curious, documentation regarding the PROM commands can be found here. Not setting any one of these variables will lead to a range of issues from kernel panics to graphical glitches to rare and undocumented boot problems because the install time is listed as 1960-something. Don't skip this step or your install and/or boot will probably fail.
Set the default Ethernet address:
setenv -f eaddr 08:00:69:12:34:56
Set the display to 1280x1024:
setenv monitor h
Set the date and time to something reasonable (syntax is "two digit month, two digit day, 24 hour/minute time, two digit year" so this example sets the date to March 27, 2020 at 4:47 PM):
date 0327164720
Check that your environment variables have been set properly:
printenv
date
Using the fx utility to partition the disk:
First you need to insert the Overlay 1 of 3 ISO into the emulated machine. To do this, enable partial keyboard emulation by pressing Scroll Lock (Linux/Windows) or Delete (macOS), press P to pause the emulation, and then Tab to open the menu. Use the arrow keys to navigate to File Manager, CD-ROM, and find the Overlay 1 of 3 file that you downloaded earlier and press enter to select. Then press Tab to close the menu, P to resume, and Scroll Lock or Delete to toggle full keyboard emulation. You will have to do this every time you need to insert a CD. In Command Monitor enter "hinv" for hardware inventory. You will need to find the numbers for the SCSI controller and CD-ROM device. In my experience these numbers can differ between models. Enter the command below but replace X with the SCSI controller number and Y with the CD-ROM number.
boot -f dksc(X,Y,8)sashARCS dksc(X,Y,7)stand/fx.ARCS --x
At the time this guide was written the following worked for me:
boot -f dksc(0,6,8)sashARCS dksc(0,6,7)stand/fx.ARCS --x
Press enter three times until you come to the main fx menu. The disk image we created earlier is blank and doesn't need to be repartitioned. Simply press L to label, C to create, A for all, and then type ".." to return to the previous options where you'll find an option to sync the disk. It will write the new label info to the disk and from there you need to type ".." again and find the exit option. Wait a moment and it will send you back to the main PROM menu.
Starting the installation and formatting disks:
From the main PROM menu select "Install System Software" and it should automatically detect the install media. Press the install button and wait for it to copy the installation tools to the disk. When it finishes it will ask you if you want to make a new file system on /dev/dsk/realroot. Answer yes. It will then ask you about block size. For disks larger than 4GB you should choose 4096.
Scanning the distributions:
The inst main menu should now appear. Select 1 here and then 1 again to scan /CDROM/dist. Press the space bar once to continue. It will ask if you want to be placed on the maintenance or feature stream. Around 6.5.21/22 the streams were merged and this doesn't mean anything outside of the installer. However, you should select feature stream here to avoid installer conflicts. When the menu returns, insert the Overlay 2 of 3 CD using the method described in the beginning of the guide and wait about 10 seconds. Press 1 again for /CDROM/dist. When it finishes you will need to load a secondary distribution off the Overlay 2 of 3 CD. Type /CDROM/dist/unbundled at the prompt and hit enter. Next you will need to insert the Overlay 3 of 3 CD. Select 2 for /CDROM/dist this time. Next insert the Applications CD and enter 1. To scroll through the README text press the space bar but don't go too fast. Next insert the Foundation 1 CD and choose 1 here again. Repeat this again for the Foundation 2 CD. Next insert the NFS CD and load from /CDROM/dist/dist6.5 if it doesn't automatically detect it. After that type "done" and you will be returned to the main inst menu.
Additional inst commands:
Type all of these at the inst prompt for a conflict-free install:
keep *
install standard
keep java2_plugin.sw32.mozilla_freeware
keep inventor_dev.sw.base
keep inventor_dev.sw.lib
install eoe.sw.fonttools
install eoe.sw.uucp
install eoe.sw.xlv
install ftn_eoe
install eoe.sw.spell
install inventor_eoe.sw64
install ifl_eoe.sw64
install dmedia_eoe.sw64
install prereqs
keep incompleteoverlays
go
After this it will ask you to insert specific CDs. Do not type Control-C. Simply insert the disc and it will automatically install the software and ask for the next one when it finishes. When the install is complete and the inst prompt is returned, just type "quit" and wait for it to restart.
Installing the SGI Demos:
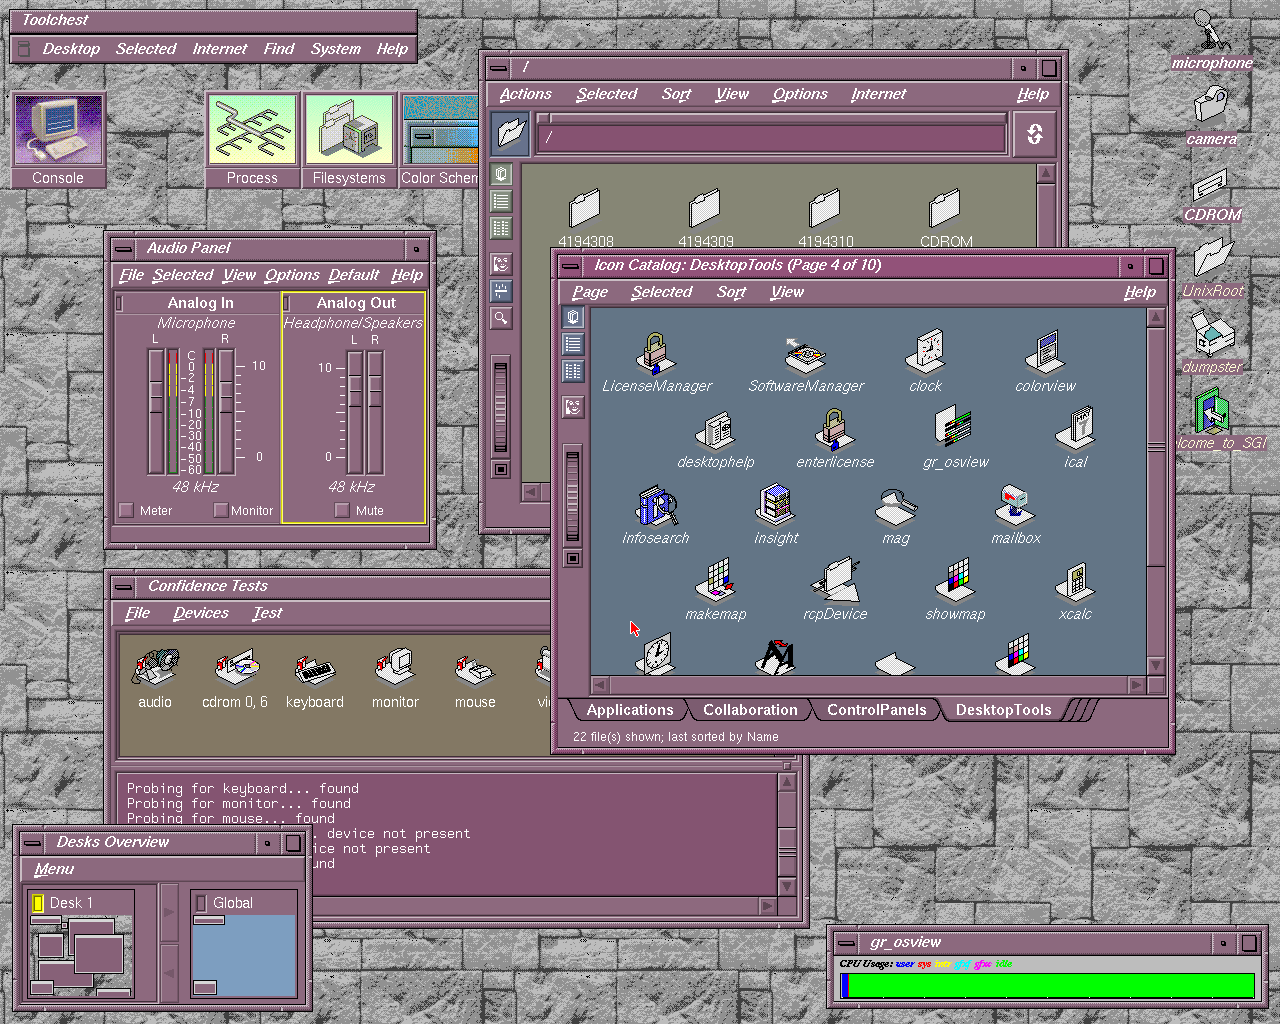
When the login screen comes up choose the root account. It has no password by default. Inserting the CD through the MAME menu and then mounting it in IRIX should bring up the graphical package manager. From there it's simple enough to install the demos. Not all of the demos are compatible with the Indy's graphics hardware so if there are conflicts (e.g. it tires to install O2 or Octane demos) simply untick those boxes and proceed with the installation. When it's finished you can log out and then log back in and they should be accessible through the Toolchest or Icon Catalog.
Getting files onto the Indy (the easy way):
On Linux there's a tool called genisoimage that will create ISO images that IRIX can read. Check out the wiki page on it here. The following command works fine:
genisoimage -v -J -r -V MY_DISK_LABEL -o ~/Desktop/file_name.iso ~/Desktop/folder_of_stuff_you_want_in_the_iso
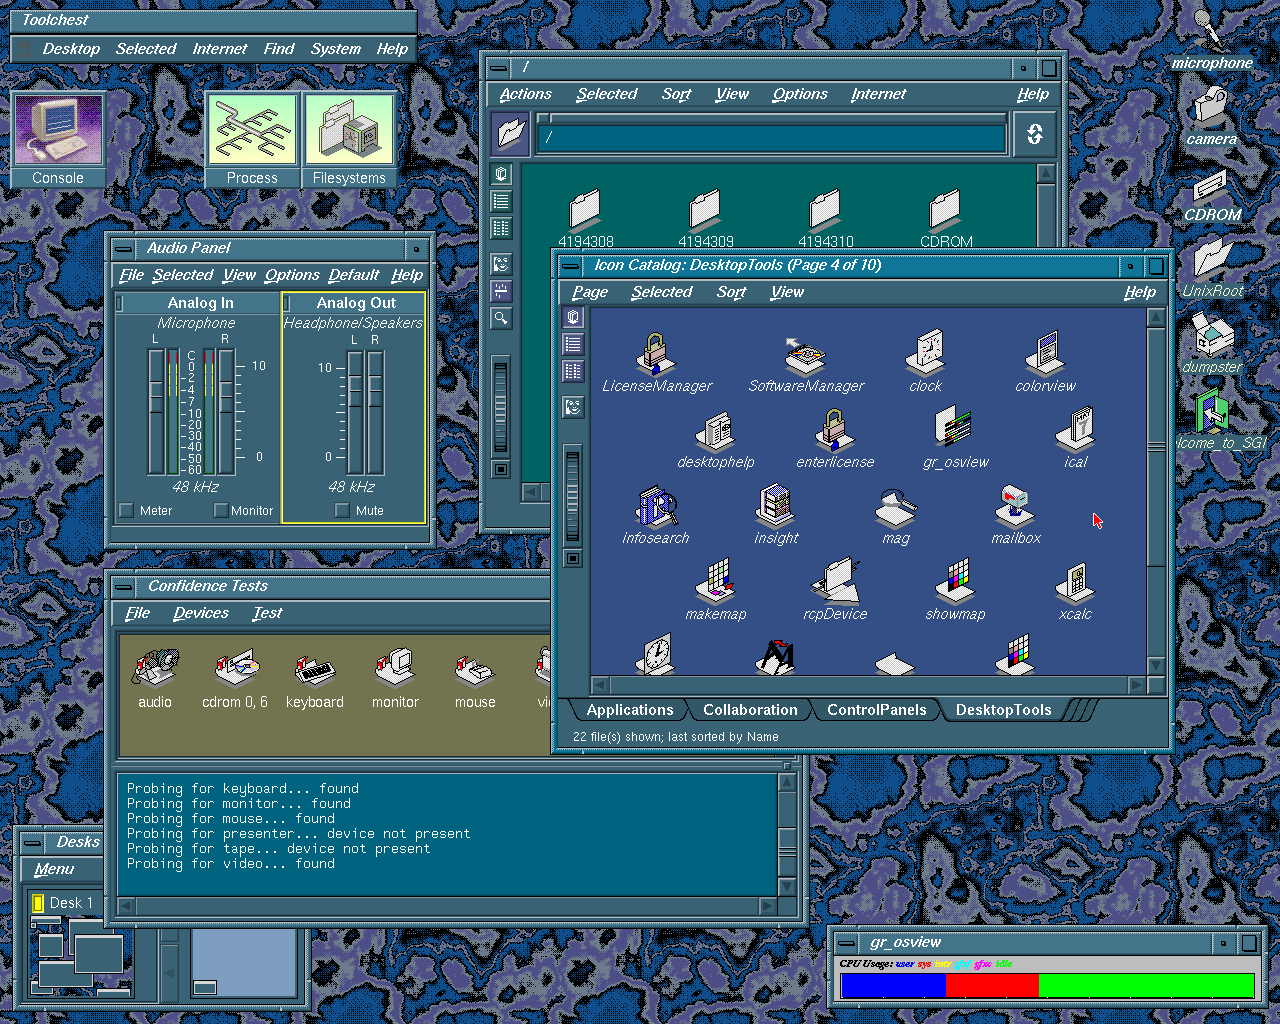
Setting your own wallpapers:
IRIX 6.5.22 will allow you to set a PNG or JPEG as your background. First you will need to enable 24-bit support in the display server. Log in as root and use NEdit to open /var/X11/xdm/Xservers. Change the contents of the file to ":0 secure /usr/bin/X11/X -bs -nobitscale -c -class TrueColor -depth 24 -solidroot sgilightblue -cursorFG red -cursorBG white" and then log out. Open up a terminal and enter "xdpyinfo" to see if 24-bit color is enabled. Log back in as root and create a directory somewhere for your own background images and place them in there. Then open NEdit and open /usr/lib/X11/system.backgrounds. Your new entry should look something like this:
background "picture"
default "-image /path_to_your_pics/picture.png"
Networking:
It is now possible to configure TUN/TAP networking with the emulated Indy. The Ethernet device is recognized inside of IRIX. I haven't been able to figure out how to set up the virtual network adapter on Linux that MAME wants but it's probably possible to get an internet connection. Figuring it out is of little importance to me since having networking is not very useful in this instance and is not required to really explore IRIX.
Speeding up the boot process:
You can cut your boot times in half by disabling the electronic support service. This will not have any impact on the functionality of the OS for an end user. To do this you need to log into the root account, open a terminal window, and enter this command:
chkconfig esp off